Transforming your home with new flooring can be both exciting and rewarding, especially when you take on the project yourself over the weekend. Vinyl floor covering is a popular choice due to its durability, versatility, and aesthetic appeal. If you’re ready to upgrade your home, learning how to install vinyl floor covering correctly is essential to achieving a good finish.
Why choose vinyl floor covering?
Vinyl flooring offers numerous benefits, making it a favored option among homeowners. Understanding how to install vinyl floor covering can help maximize these advantages:
- Affordability: Vinyl floor covering is budget-friendly, providing the look of more expensive materials without breaking the bank.
- Durability: Its robust construction resists scratches and stains, ideal for high-traffic areas.
- Moisture resistance: Vinyl is water-resistant, making it suitable for kitchens, bathrooms, and basements.
- Easy maintenance: Regular sweeping and occasional mopping keep vinyl floors looking new.

Preparing for installation
Before diving into how to install vinyl floor covering, proper preparation is key to a seamless installation. Follow these preliminary steps:
1. Gather your tools and materials
- Measuring tape
- Utility knife
- Straightedge
- Underlayment (if required)
- Adhesive (if needed)
- Vinyl floor covering
- Roller or rolling pin
2. Acclimate your flooring
Bring the vinyl flooring into the room where you will install it at least 24-48 hours prior. This helps the material acclimate to the room temperature and humidity, reducing the risk of expansion or contraction once installed.
3. Assess and prepare the subfloor
Ensure your subfloor is clean, dry, and level. Remove any old coverings and address imperfections by sanding or filling where necessary. Note that vinyl can be laid over various surfaces, including plywood, tile, or concrete.
How to install vinyl floor covering: Step-by-step guide
Let’s explore the comprehensive steps of how to install vinyl floor covering, from planning to final touches.
Planning and measuring
1. Measure the area
Use a measuring tape to calculate the length and width of the room to determine how much vinyl you’ll need. Consider purchasing an extra 10% to account for mistakes or future repairs.
2. Plan the layout
Vinyl floor covering may come in sheets, planks, or tiles. Plan how you want the pattern to look in your space. For best results, start installation from the center of the room or the longest wall, ensuring even distribution.
Installation process
1. Install underlayment (if needed)
Depending on your subfloor, you may need underlayment to provide a smooth surface or add cushioning and insulation. Lay it out evenly, securing it as recommended by the manufacturer.
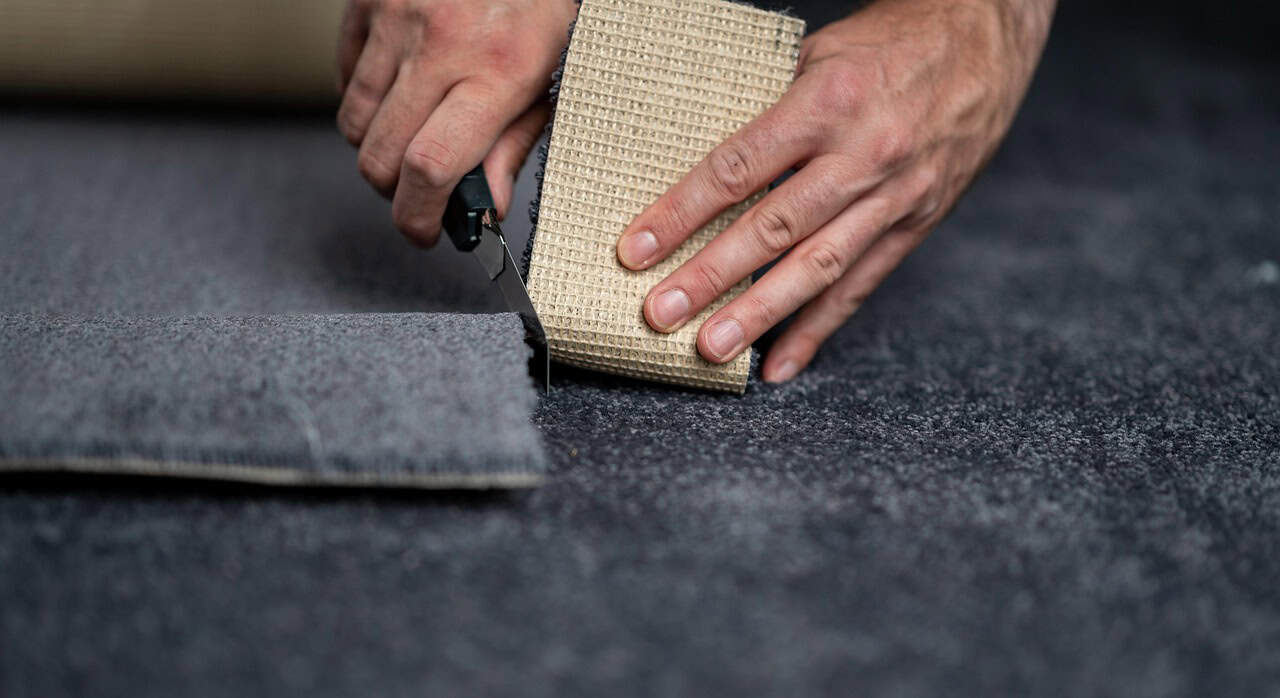
2. Cut vinyl to size
Carefully cut the vinyl pieces to fit your room measurements. Use a utility knife and a straightedge to ensure clean, accurate cuts. Remember to leave a small gap around the perimeter to allow for expansion.
3. Install the vinyl
- For plank or tile installation:
Begin at one wall, clicking or locking planks/tiles into place. Use spacers to maintain even gaps between the vinyl and the walls. - For sheet installation:
Unroll the vinyl across the floor, aligning carefully with your starting point. Allow the edges to extend slightly up the walls.

4. Secure the flooring
- For adhesive-free:
Use a roller or rolling pin to press the vinyl firmly into place, removing air bubbles and ensuring a secure fit.
- For adhesive installation:
Apply adhesive to the subfloor or the back of the vinyl, following the manufacturer’s instructions. Smooth the vinyl into the adhesive with a roller to ensure even contact.
5. Trim the edges
Use a utility knife to trim excess vinyl along the edges, precisely fitting the flooring into corners and around obstacles like door frames and vents.
Finishing touches
1. Install trim and molding:
Replace baseboards and add quarter-round molding to conceal expansion gaps and provide a polished finish.
2. Clean the floor:
After installation is complete, clean the floor with a damp mop or manufacturer-recommended cleaner to remove any dust or adhesive residue.
Tips for a successful install
Learning how to install vinyl floor covering includes understanding these expert tips:
- Maintain temperature: Keep the room’s temperature consistent during and after installation to avoid issues related to expansion and contraction.
- Check alignment: Regularly check for alignment and pattern consistency as you install, making adjustments where necessary.
- Use a roller: Firmly press down the vinyl with a roller to ensure proper adhesion and prevent air bubbles.

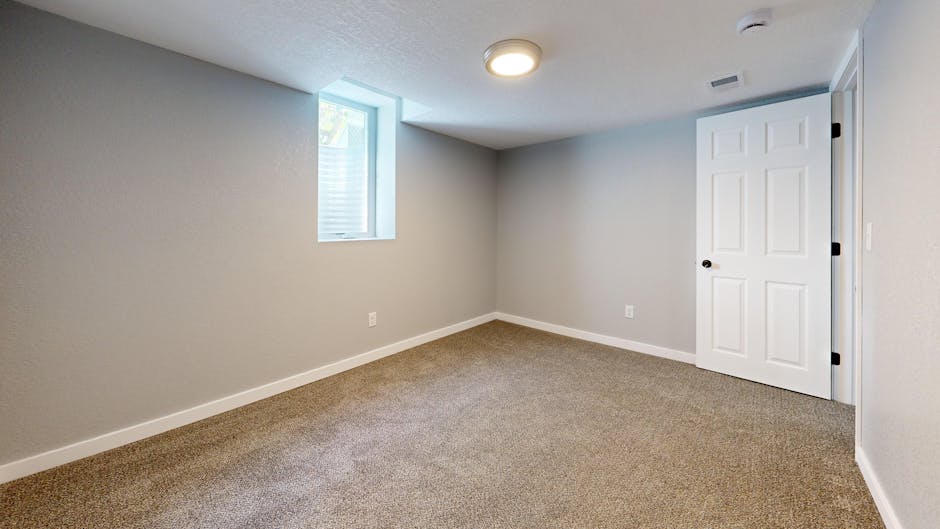
Inspire your home with new vinyl flooring
Taking on a weekend project to install vinyl floor covering can elevate the look and functionality of your home. Understanding how to install vinyl floor covering correctly is crucial for a successful transformation. The key to a successful installation lies in preparation, accurate measurements, and careful application, ensuring a result that enhances your Powell home for years to come.
For homeowners in Powell, Ohio, seeking professional assistance or top-quality vinyl products, Diamond Flooring & Carpet Installation is your premier choice for luxury vinyl plank flooring in Powell Ohio. Our expert services ensure that your flooring project is completed with precision and excellence, providing unmatched value and beauty to your home.