Removing an existing floor requires patience, the right tools, and a clear understanding of what lies underneath. A pry bar used at the wrong angle can damage plywood, split boards, or create repairs that complicate the next installation. Learning how to remove old flooring safely starts with identifying the material, understanding how it was installed, and working in controlled sections. These steps help protect the subfloor and make the transition to new flooring easier.
Identify the flooring before you begin
Different materials require different removal methods. Floating laminate, glued vinyl, nailed hardwood, and carpet secured with tack strips cannot all be removed the same way. Before deciding how to remove old flooring, inspect an exposed edge near a doorway, floor vent, or transition strip.
Some homes have multiple layers, such as carpet over vinyl or laminate over underlayment. Floating floors usually click together, while nails or staples may secure wood flooring. Adhesive is common with vinyl, linoleum, and some engineered products. If you cannot identify the material or its attachment, test a small, discreet section rather than immediately pulling up a large area.
Check for hazardous materials
Older flooring and adhesives may contain asbestos, particularly certain vinyl tiles, sheet flooring, and black mastic. Asbestos cannot be reliably identified by sight. If you suspect it may be present, stop before cutting, sanding, scraping, or otherwise disturbing the material. Arrange testing through a qualified professional and follow applicable safety requirements.
For ordinary removal work, wear safety glasses, sturdy gloves, long sleeves, knee pads, and suitable respiratory protection. Keep the work area well lit, and ventilate appropriately without spreading dust into other rooms.
Prepare the room and gather your tools
Clear furniture and movable appliances from the work area. If an appliance has water, gas, or electrical connections, arrange for the appropriate disconnection before moving it. To preserve baseboards or shoe molding, score the paint or caulk along the top edge before carefully removing the trim. Label each piece if you plan to reinstall it.
Protect nearby surfaces and establish a clear route for carrying debris out of the house. Keep a sturdy container nearby for nails and staples, and decide how you will dispose of the removed materials before starting.
Depending on the flooring, useful tools may include a utility knife, flat pry bar, floor scraper, hammer, pliers, wide putty knife, and pull bar. Choose tools suited to both the material and the subfloor. Wider, flatter tools distribute pressure over a larger area, while narrow tools can leave dents or gouges.
Remove different flooring types
The safest method depends on whether the material floats, is glued down, or is attached with nails, staples, or tack strips. If you are unsure how to remove old flooring in a particular room, start with a small test area and observe how the material releases.
Floating laminate and click-lock planks
Remove the baseboards and transition strips, then locate an exposed edge. Many click-lock planks can be disengaged row by row, beginning near a wall and lifting at the angle recommended by the manufacturer.
Avoid forcing the planks upward against the subfloor. If a piece resists, check for a hidden fastener or locked connection. Floating floors are often designed to come apart in a specific sequence, so identifying that sequence can prevent unnecessary damage.
Glued vinyl and sheet flooring
Sheet flooring can sometimes be cut into manageable strips with a sharp utility knife. Keep cuts shallow to avoid scoring the surface underneath, then pull each strip back slowly. A floor scraper may help release stubborn material when held at a low angle and used with short strokes.
Do not use heat or aggressive power tools unless you know the flooring and adhesive are safe to disturb. Suspected hazardous materials require professional assessment before removal.
Hardwood and nailed flooring
Start near a board end or an existing gap. Slide a flat pry bar beneath the board and lift gradually, repositioning the tool as needed. Remove accessible nails with pliers or a nail puller instead of levering the board forcefully against the subfloor.
If the boards resist, inspect the attachment before applying additional pressure. With laminate, first confirm whether the floor is floating and should be disassembled instead of pried up.
Carpet, tack strips, and staples
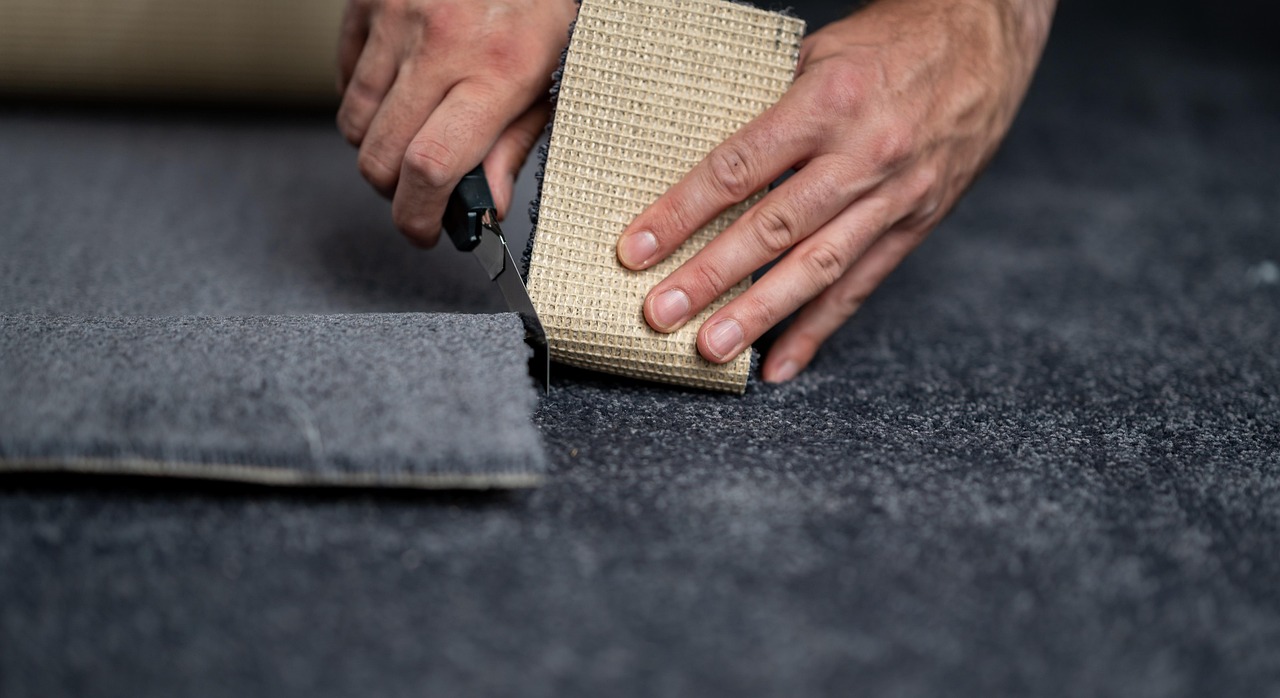
Cut carpet into manageable strips, roll each section tightly, and carry it out. Lift tack strips with a flat pry bar held nearly parallel to the subfloor. Remove remaining staples with pliers or a staple remover.
Although carpet can be relatively straightforward to remove, the fasteners can be numerous. Work methodically and check the surface carefully so sharp staples do not remain hidden beneath debris.
Protect the subfloor during removal
A key part of how to remove old flooring successfully is controlling the pressure applied to the surface underneath. Keep tools close to the floor and work in small sections. If the subfloor flexes, splinters, or begins lifting with the material, stop and change your approach.
Insert flat tools into existing seams whenever possible. Avoid twisting a narrow pry bar against plywood or particleboard because concentrated pressure can crush the surface or tear out pieces. Look for nails, staples, and screws before prying, and remove accessible fasteners first.
Adhesive residue requires particular care. Aggressive scraping may gouge the subfloor, while sanding unknown adhesive can create hazardous dust. Use a scraper at a shallow angle and check your progress frequently. Before applying a residue remover, confirm that it is suitable for both the adhesive and the underlying material.
Stop if you uncover several flooring layers, unfamiliar black adhesive, damp areas, or material that will not release with controlled pressure. The goal is to remove the existing floor without creating a more complicated repair.
Clean and inspect the subfloor
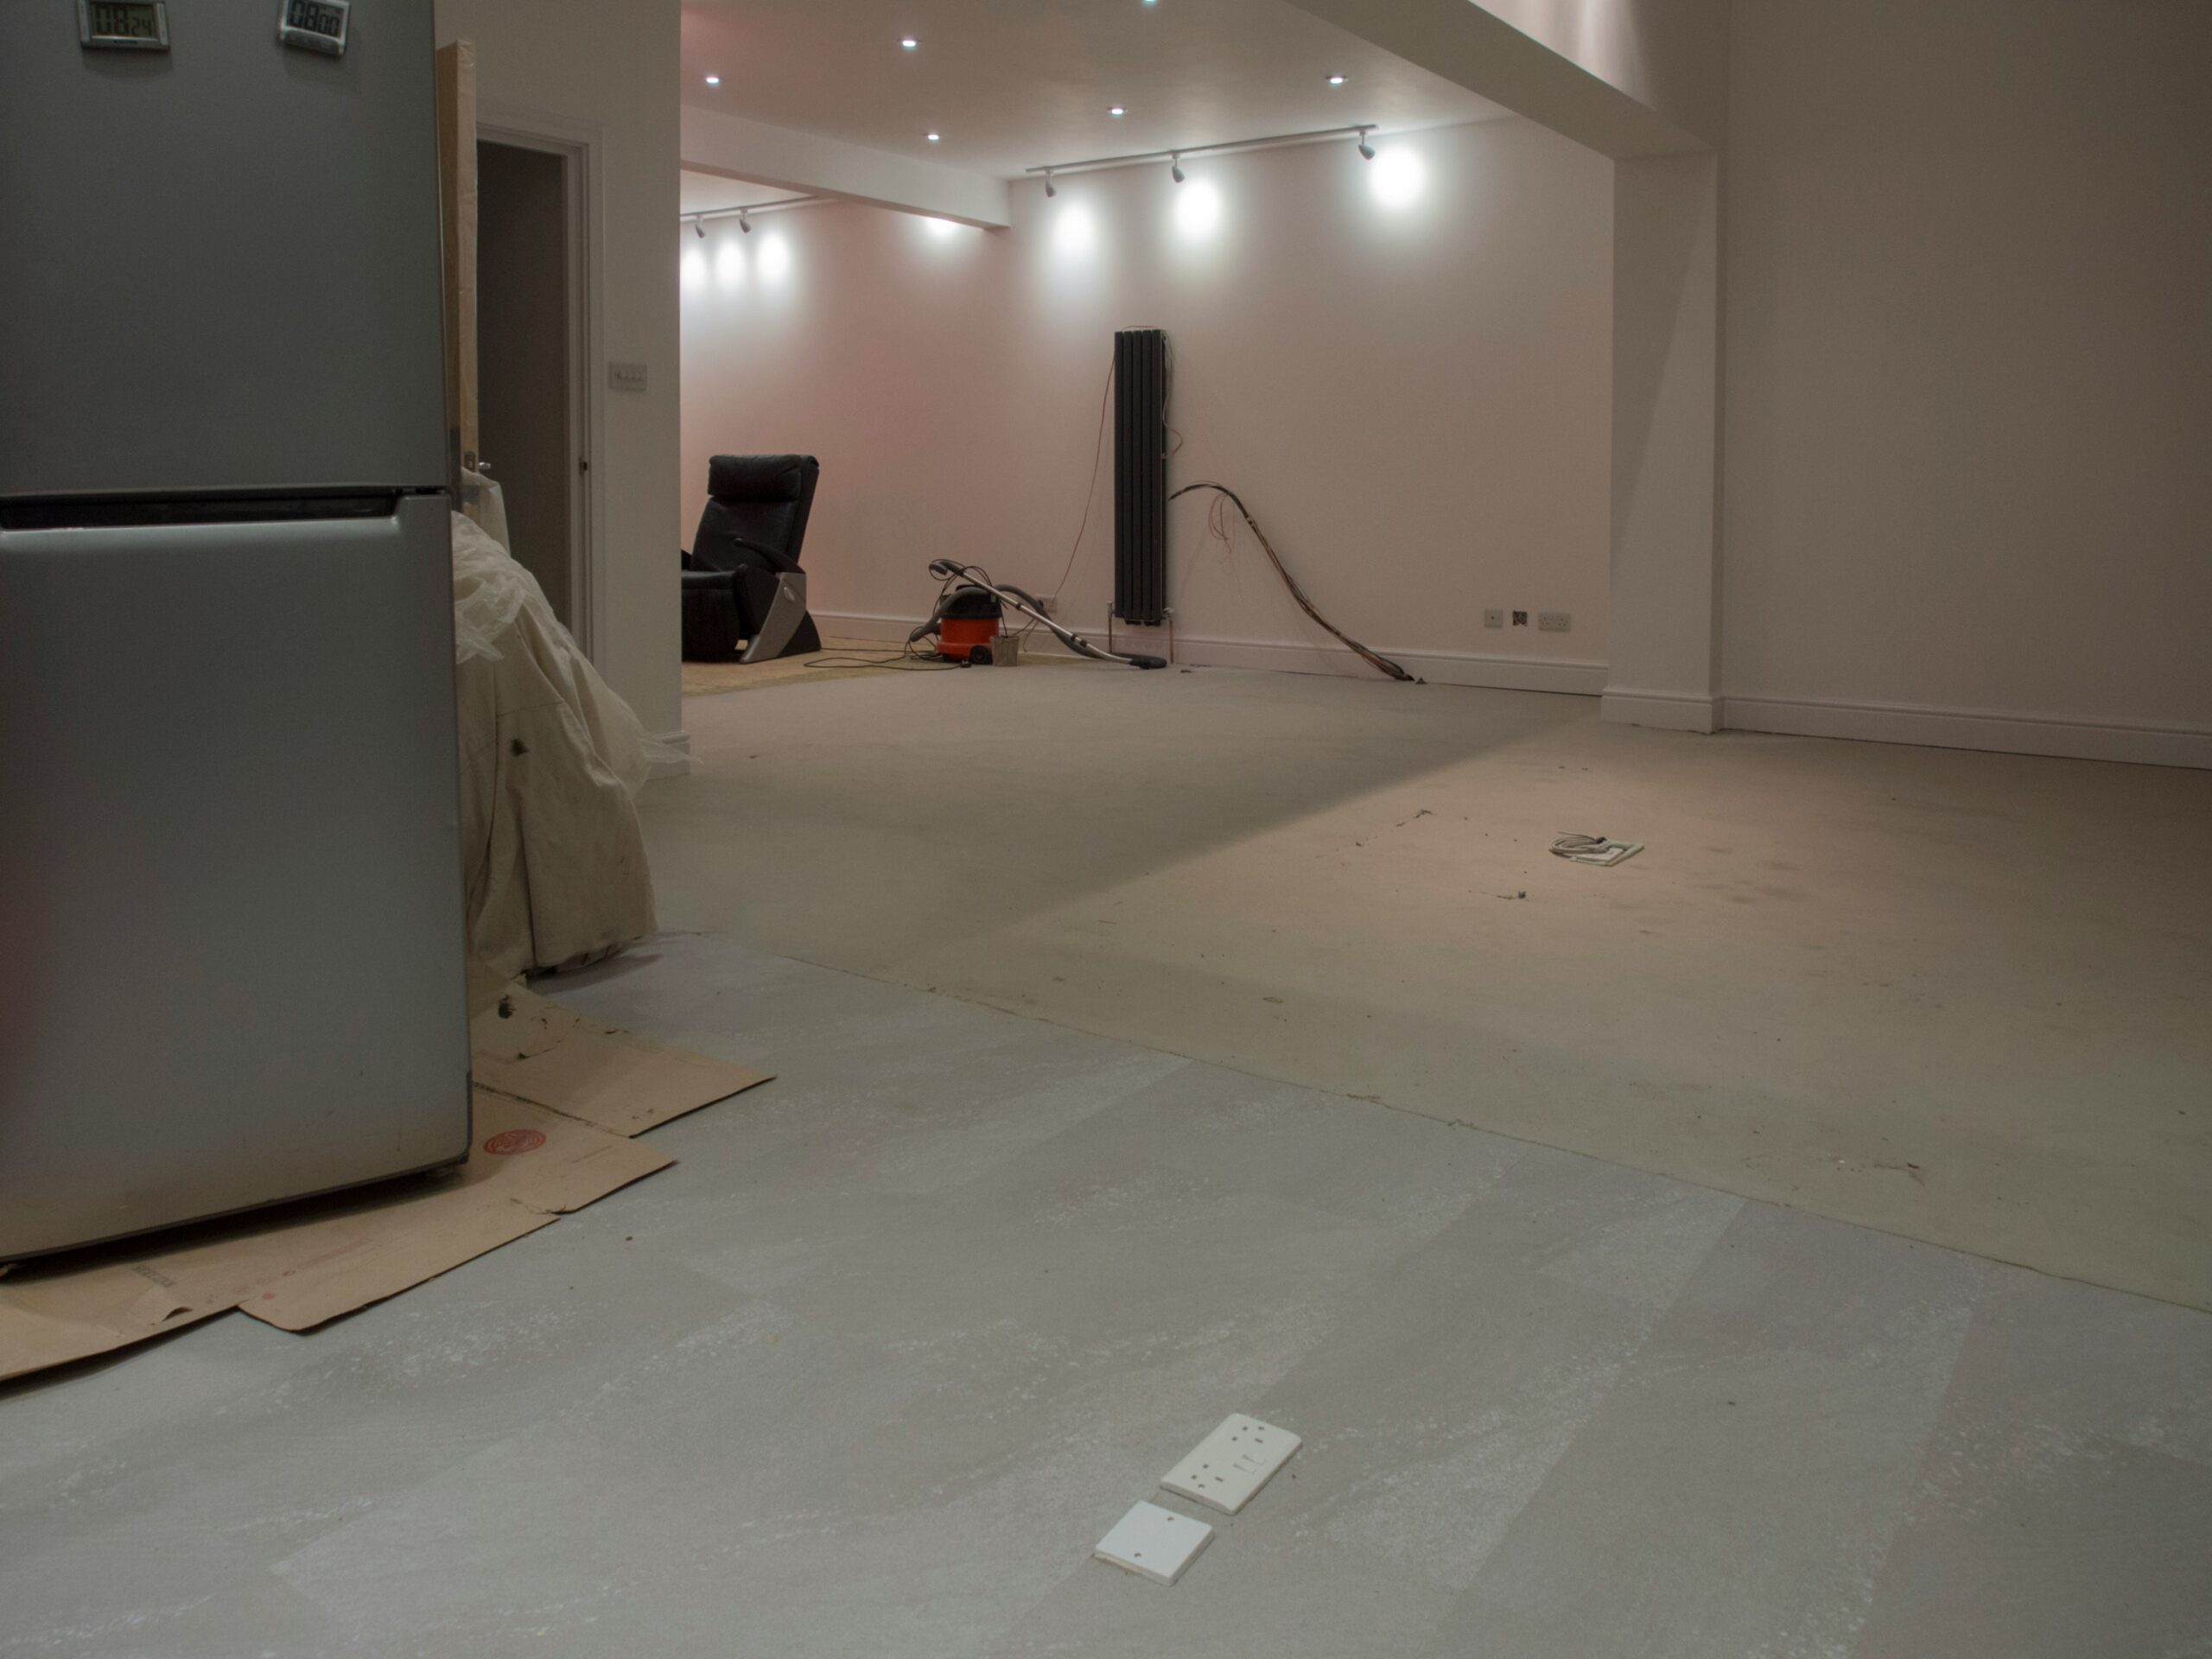
After removal, clear loose debris and inspect the entire surface in good light. Look for discoloration, swelling, soft spots, mold-like growth, or musty odors. Check whether boards or panels move underfoot. A straightedge can help identify uneven areas, while a moisture meter may be useful when dampness is suspected.
Remove leftover nails and staples with pliers or a nail puller. Scrape loose residue carefully, then sweep or vacuum using equipment appropriate for the material and dust involved.
Minor surface marks may be repairable, but deep gouges, loose panels, and widespread water damage need additional attention. Soft, rotten, or structurally compromised sections may require replacement. If you cannot determine whether the damage is cosmetic or structural, have an experienced professional assess it.
Before new flooring is installed, the subfloor should be clean, dry, stable, and within the flatness requirements for the selected material. Remove protruding fasteners and remaining debris. Proper preparation helps prevent installation problems and gives the new floor a suitable foundation.
Know when to hire a professional
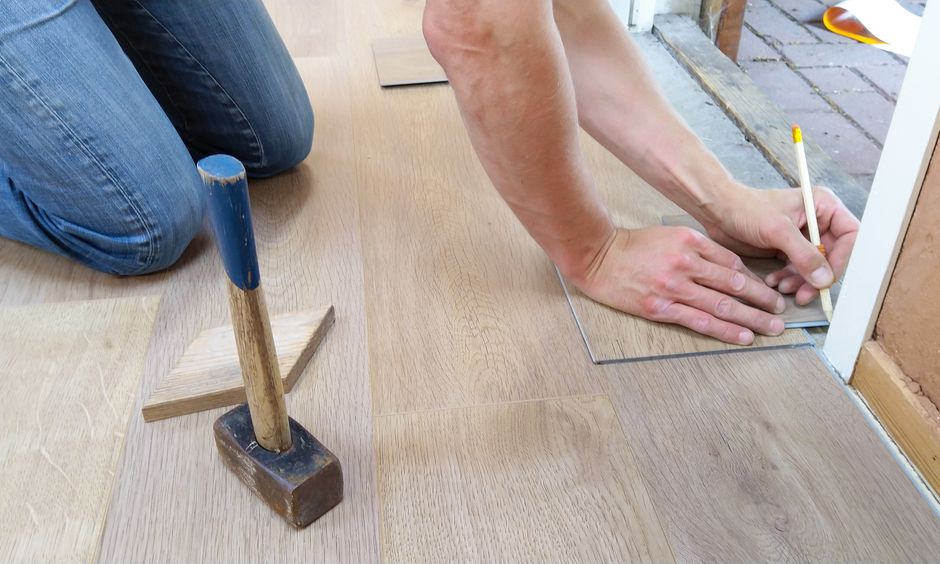
Some projects are manageable with basic tools, while others require specialized equipment, hazardous-material testing, or subfloor repairs. If you are researching how to remove old flooring but discover stubborn adhesive, multiple layers, or significant damage, reassess the project before continuing.
A flooring professional can evaluate the existing material, determine what preparation is needed, and recommend an appropriate approach. Professional assistance is especially important when suspected asbestos or extensive moisture damage is involved. Do not cut, grind, sand, or scrape material that may contain asbestos; contact qualified testing or abatement professionals.
Removal time also varies considerably. A small floating floor may come apart quickly, while glued materials, multiple layers, and extensive fasteners can make the work much longer. Allow enough time for preparation, removal, cleanup, inspection, and disposal.
Plan for your new flooring installation
Removing the existing surface is only one part of a flooring project. The condition of the subfloor, the material you choose, and the requirements for transitions and surface preparation all affect the final result. Planning these details in advance can help prevent delays and unexpected repairs.
For homeowners searching for flooring installation Columbus Ohio, Diamond Carpet & Flooring Installation offers free in-home consultations and brings flooring samples directly to your home. Comparing samples in the actual room makes it easier to evaluate colors, materials, and finishes alongside your lighting, furniture, and existing design.
Diamond Flooring can also take precise measurements, remove existing flooring when needed, inspect and prepare the subfloor, and complete professional installation and cleanup. Discussing these steps before the project begins helps clarify what the space needs before the new material goes down.
Understanding how to remove old flooring can help you recognize the work involved, but you do not have to manage every stage yourself. Working with an installation team can simplify the transition from removal to preparation and the finished floor, particularly when the existing material is difficult to remove or the subfloor needs attention.
Identify the material, check for hazards, use suitable tools, and work carefully. Clean and inspect the surface before installation, and stop if you encounter a safety concern or damage beyond your experience. With appropriate preparation and professional guidance, you can protect the subfloor and create a smoother path toward your home's new flooring.