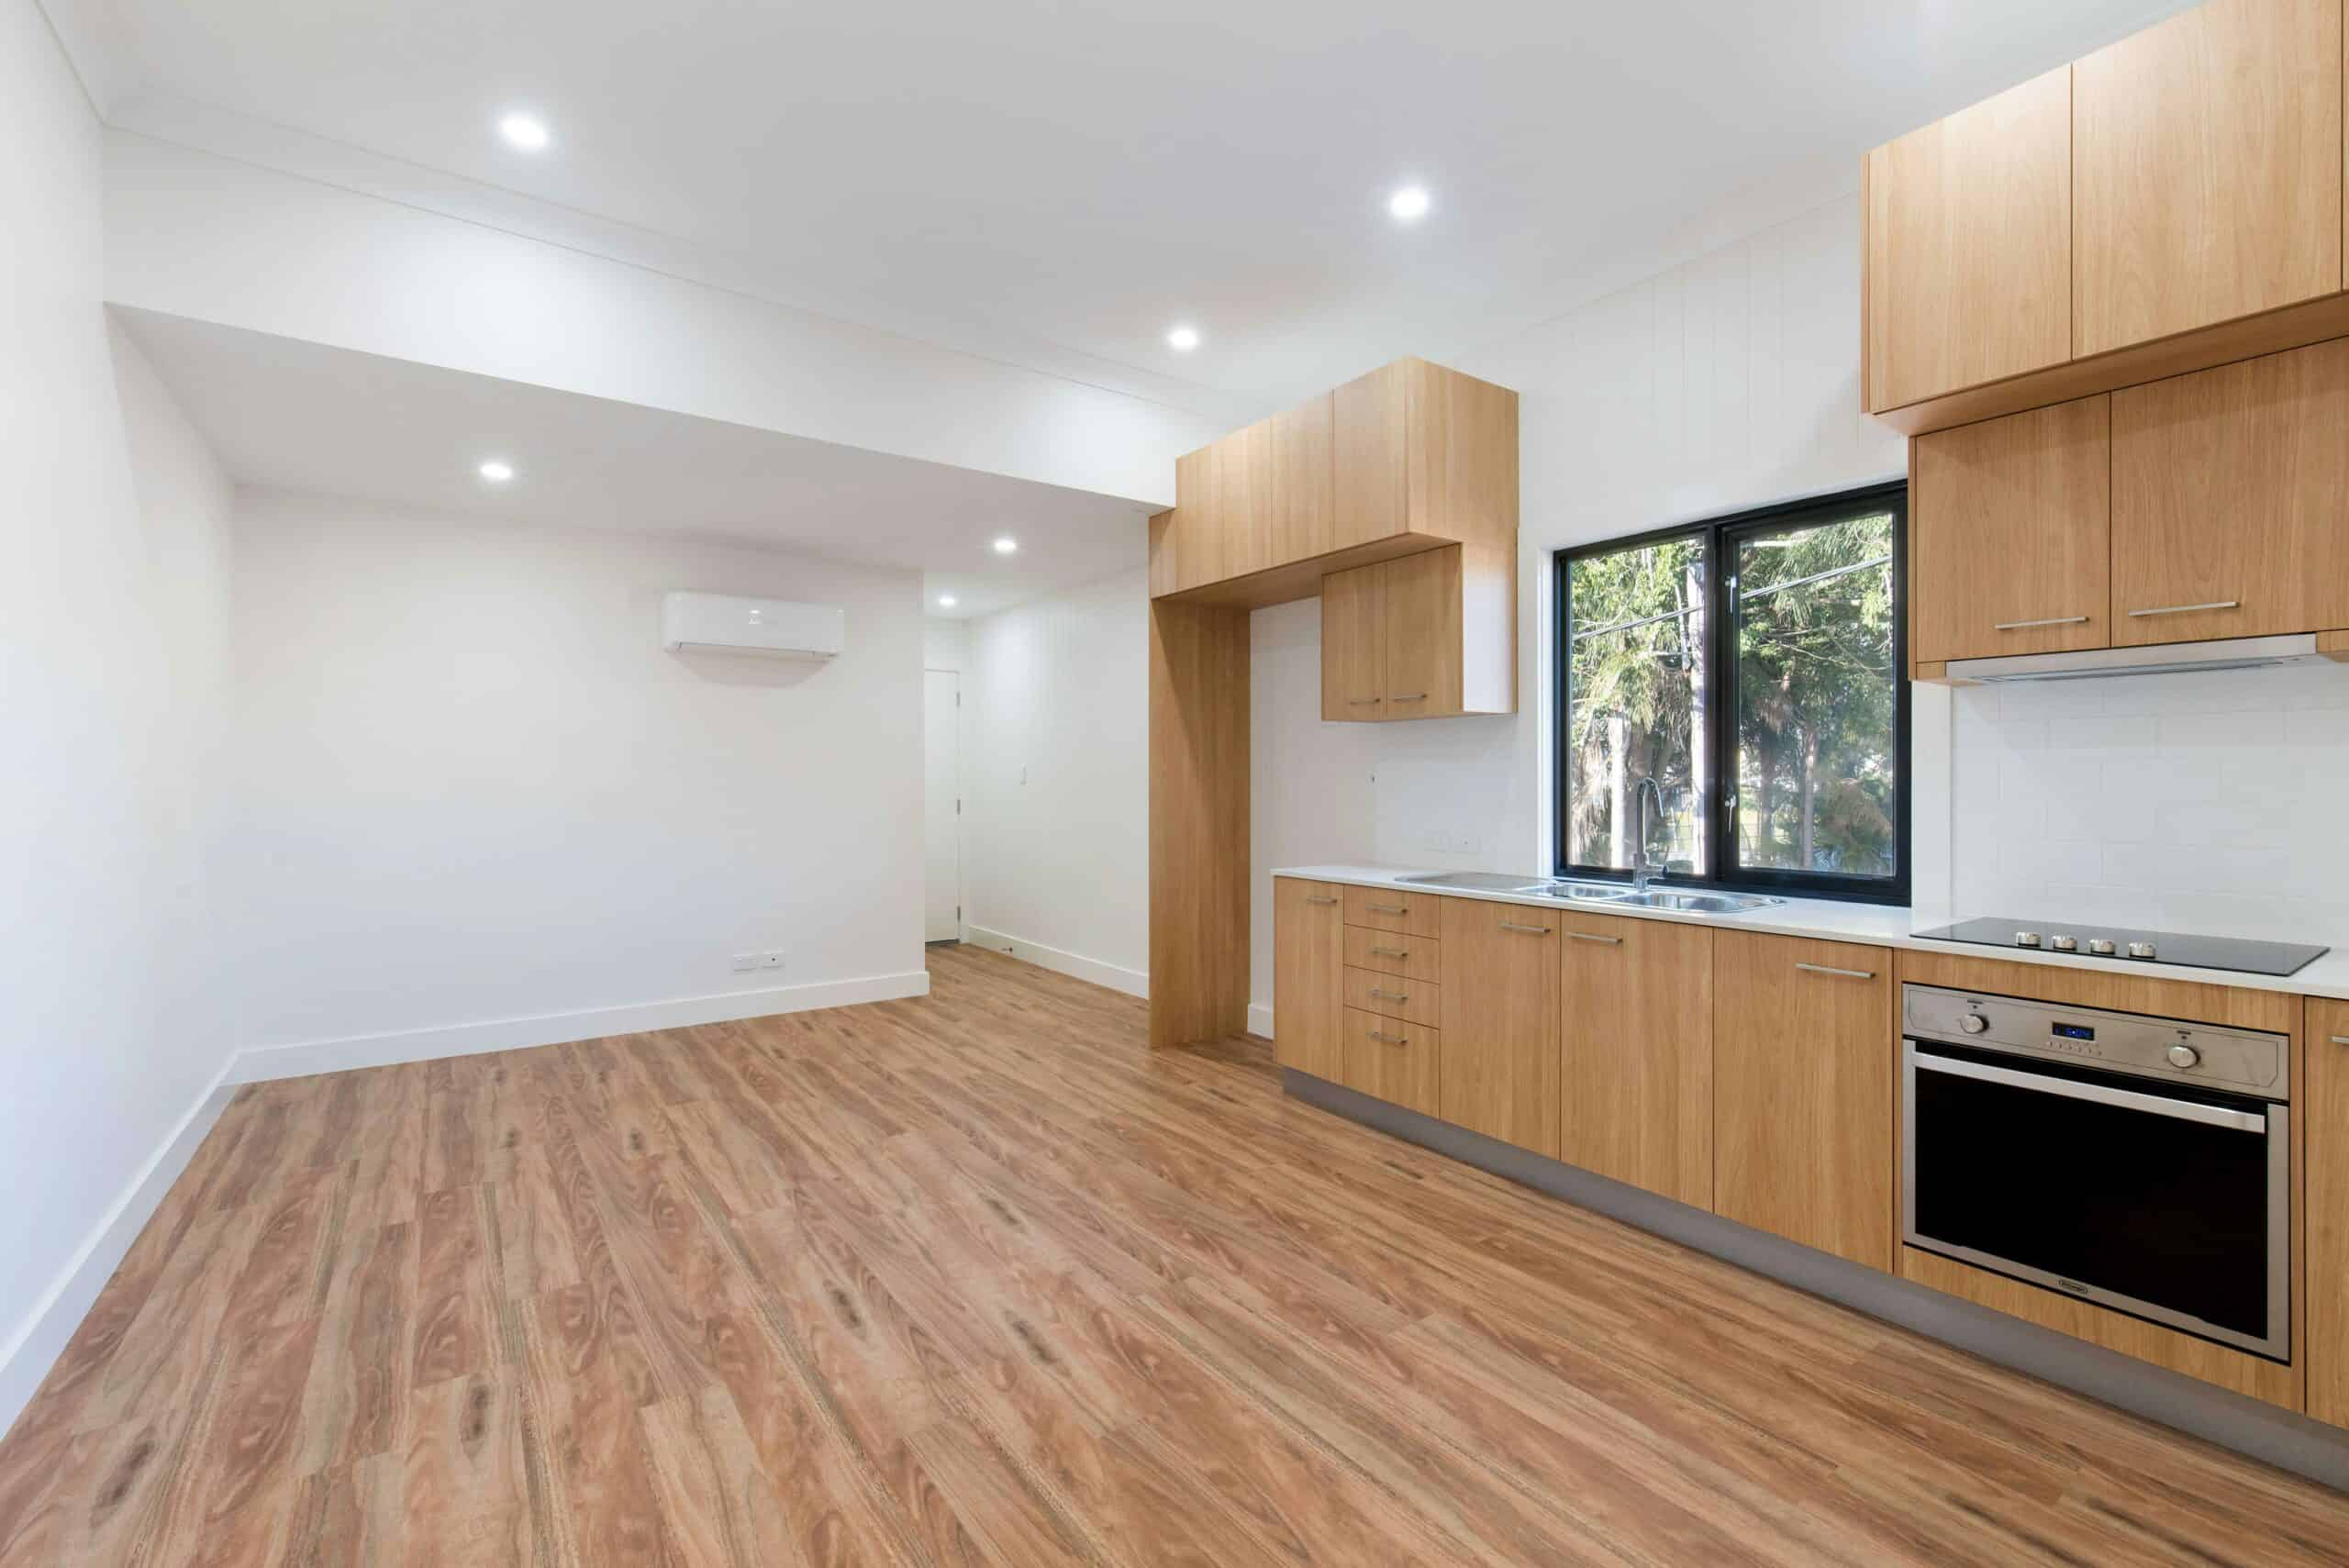
Imagine investing in high-end hardwood or luxury vinyl planks, admiring the flawless finish on day one, and then hearing a sharp creak across the living room just three months later. Worse yet, imagine watching seams separate or boards cup upward along the hallway. When newly installed floors fail prematurely, the culprit is rarely the planks themselves, it is almost always what lies hidden beneath them. Executing thorough subfloor preparation creates the silent, rigid, and dry foundation required to keep any finished floor performing smoothly for decades.
Rather than treating the base layer as an afterthought, seasoned builders view subfloor preparation as the single most critical phase of any remodeling project.
The hidden mechanics behind floor noise and structural warping
To understand why floors fail, you have to look at how weight and environmental stress travel from the surface down to your home's framing. Whether your home sits on plywood, oriented strand board (OSB), or a concrete slab, that base layer absorbs every footstep and distributes loads across floor joists or foundations.
Friction and fastener fatigue
Squeaks are the sound of friction under pressure. When a subfloor panel pulls slightly away from a floor joist, often because smooth-shank nails loosen over years of seasonal wood movement, stepping on that spot forces the panel downward against the nail shaft. That vertical deflection produces an unmistakable squeak. Simply laying new planks over a loose panel muffles the sound temporarily, but foot traffic quickly transfers stress back into the joint. True subfloor preparation eliminates vertical deflection at the joist level before a single finish plank touches the room.
Moisture migration and lateral expansion
Wood-based subfloors and concrete slabs act like sponges when exposed to elevated humidity, plumbing leaks, or ground vapor. As wood fibers absorb moisture, panels swell laterally. If the perimeter lacks adequate expansion gaps or if moisture vapor rises unchecked from a basement or crawlspace, swelling panels push violently against one another. With nowhere else to go, the pressure forces planks upward, resulting in buckling, cupping, or cracked tile grout. Comprehensive subfloor preparation includes diagnostic moisture testing so hidden dampness never gets trapped beneath a new surface.
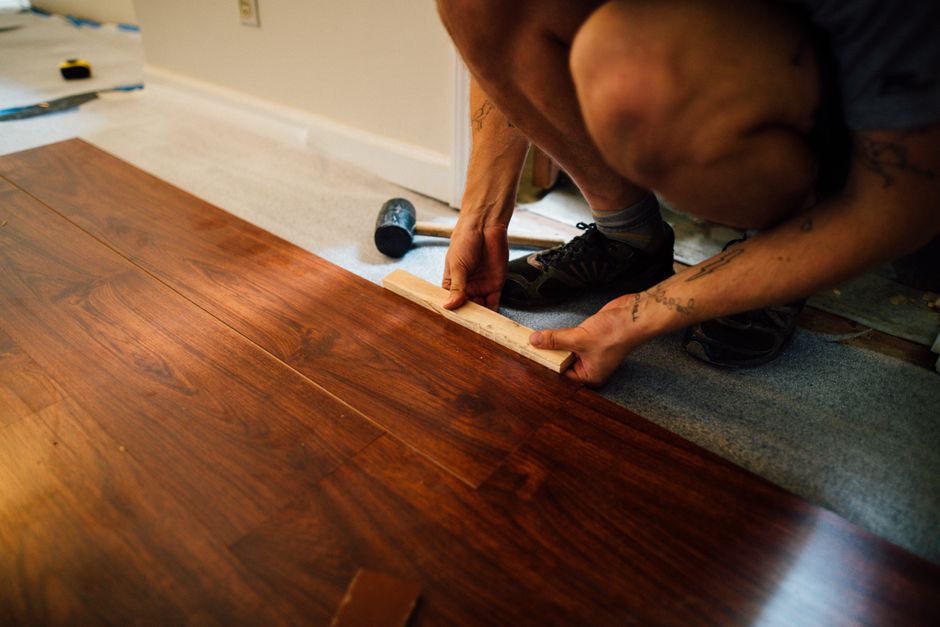
Step-by-step roadmap for building a rock-solid base
Every successful floor system follows a disciplined sequence before installation begins. Skipping even one step compromises the manufacturer's warranty and shortens the floor's lifespan.
1. Stripping and deep cleaning the substrate
Old adhesive ridges, dried drywall mud, protruding staples, and fine construction dust prevent underlayment and planks from sitting flush. Installers must scrape surfaces completely smooth and vacuum debris thoroughly so tiny particles do not telegraph through thin vinyl or create pivot points under rigid planks.
2. Moisture testing across wood and concrete
Visual checks are never enough; a concrete slab that looks dry on top can still emit high levels of moisture vapor. Professionals use pinless moisture meters on wood subfloors and calcium chloride or relative humidity probes on concrete slabs. Subfloor preparation should never advance until moisture readings fall strictly within the flooring manufacturer's specified tolerance range.
3. Structural fastening and panel replacement
Walking a grid across the entire room reveals soft spots, delaminated plywood layers, and noisy seams.
- Securing loose panels: Driving ring-shank screws or coated construction screws directly into the floor joists pulls panels tight against the framing and stops movement permanently.
- Replacing damaged sections: Panels weakened by past water damage or rot must be cut out along joist centers and replaced with matching-thickness tongue-and-groove subflooring.
- Checking utilities first: Before driving screws, installers verify the locations of electrical wiring, PEX plumbing lines, and HVAC ducts running beneath the joists.
4. Precision leveling and flatness correction
Manufacturers distinguish between a floor being level (horizontally plumb) and flat (free of dips and humps). Most floating and glue-down floors require flatness within 3/16 of an inch over a 10-foot radius.
- High seams and crowned joists are ground down using heavy-duty drum sanders or diamond cup grinders.
- Low spots, depressions, and minor slab irregularities are filled with polymer-modified patching compounds or self-leveling underlayments, allowed to cure completely before installation.
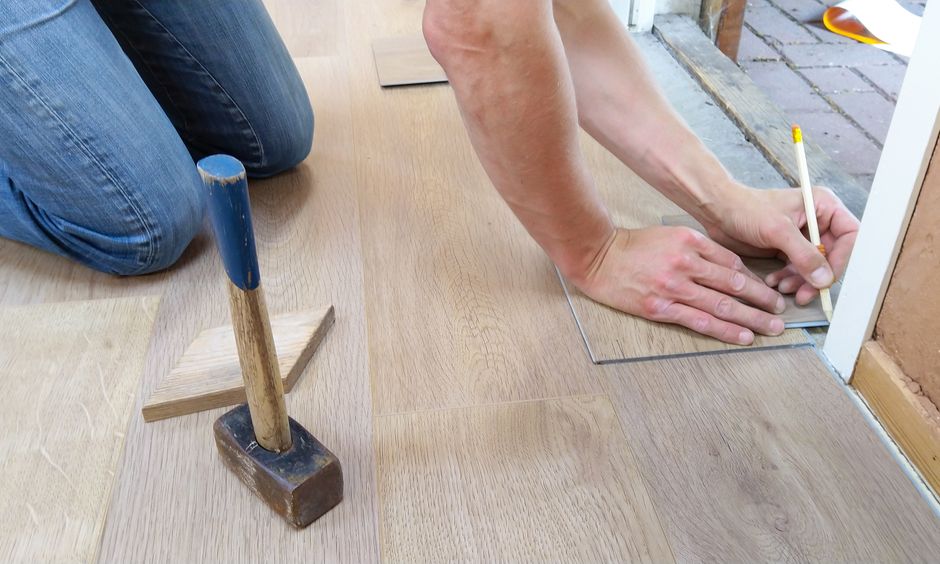
Matching preparation standards to your chosen flooring material
Not every surface demands identical tolerances, which is why tailored subfloor preparation outperforms generic shortcuts:
- Hardwood and engineered wood: Demands low, balanced moisture levels between the subfloor and the acclimated wood planks, paired with appropriate vapor retarders to prevent seasonal cupping.
- Luxury vinyl plank (LVP) and sheet vinyl: Because vinyl conforms closely to contours underneath, even minor dips or unpatched seams will cause locking mechanisms to snap under foot traffic.
- Ceramic and porcelain tile: Requires maximum structural rigidity with minimal deflection; installers frequently add cement backer boards or uncoupling membranes during subfloor preparation to prevent grout lines from cracking.
- Wall-to-wall carpet: While carpet padding forgives minor surface texture, squeaky panels and loose tack-strip zones must still be anchored firmly so noise does not echo through the room.
Costly shortcuts that sabotage new floors
Homeowners tackling DIY projects, or hiring cut-rate installers, frequently run into preventable failures caused by rushing the prep stage:
- Relying on thick underlayment to hide dips: Foam padding compresses under heavy furniture and foot traffic; it cannot bridge structural valleys or stabilize rocking panels.
- Ignoring material acclimation: Delivering wood or vinyl straight from a cold warehouse and installing it the same afternoon guarantees expansion gaps or buckling once the HVAC system brings the planks to room temperature.
- Overlooking transitions and door clearances: Adding self-leveling compound or backer board raises floor height, requiring careful planning at exterior thresholds, appliance alcoves, and bathroom transitions.
Investing extra hours in methodical subfloor preparation costs far less than tearing out ruined planks and paying for labor twice.
Post-installation habits that preserve structural stability
Once your foundation is sound and your new floors are in place, simple maintenance habits keep both the subfloor and finished surface stable:
- Keep indoor relative humidity consistent: Running a humidifier in dry Ohio winters and air conditioning or dehumidifiers in humid summers keeps indoor humidity between 35% and 55%, minimizing seasonal wood expansion.
- Inspect crawlspaces and basements seasonally: Ensuring proper vapor barriers and ventilation underneath first-floor joists prevents ground moisture from migrating upward into wood subfloors.
- Respond immediately to water leaks: Addressing dishwasher drips, refrigerator line leaks, or window condensation right away stops water from seeping into seams and swelling the substrate underneath.
When sound subfloor preparation is paired with steady indoor climate control, your floors remain quiet, flat, and structurally dependable year after year.
Partner with Diamond Flooring & Carpet Installation for flooring installation in Columbus, Ohio
Even the highest-grade flooring material can only perform as well as the foundation beneath it. If you want peace of mind knowing your home's base has been thoroughly inspected, leveled, and stabilized before installation begins, Diamond Flooring & Carpet Installation sets the standard for precision flooring installation Columbus Ohio homeowners rely on.
At Diamond Flooring & Carpet Installation, we never cut corners on the unseen details that determine how your floors look and sound five or ten years down the road. Our craftsmen treat subfloor preparation as a non-negotiable priority on every residential and commercial project across Central Ohio.
Why Columbus homeowners trust Diamond Flooring & Carpet Installation
- Thorough diagnostic prep before every install: From moisture testing concrete slabs and securing squeaky plywood joists to applying precision self-leveling compounds, our subfloor preparation ensures your new floor sits completely flat, quiet, and secure.
- Mastery across all flooring systems: Whether you are upgrading to solid hardwood, waterproof luxury vinyl plank, porcelain tile, or plush carpeting, our installers follow strict manufacturer specifications so your product warranties stay fully protected.
- Transparent estimates with zero hidden prep surprises: We evaluate your existing subfloors upfront during our in-home consultation, clearly outlining any leveling, panel repair, or moisture mitigation needed so you know the exact scope and cost before work starts.
- Clean, respectful, and timely execution: Our experienced local crews protect your home during prep and installation, complete projects on schedule, and leave every room spotless and ready to enjoy.
Do not let hidden subfloor flaws compromise your next remodeling investment. Build your project on a foundation engineered to last.
Contact Diamond Flooring & Carpet Installation today to schedule your free in-home estimate and experience expert flooring installation Columbus Ohio residents trust for lasting quality and flawless results.